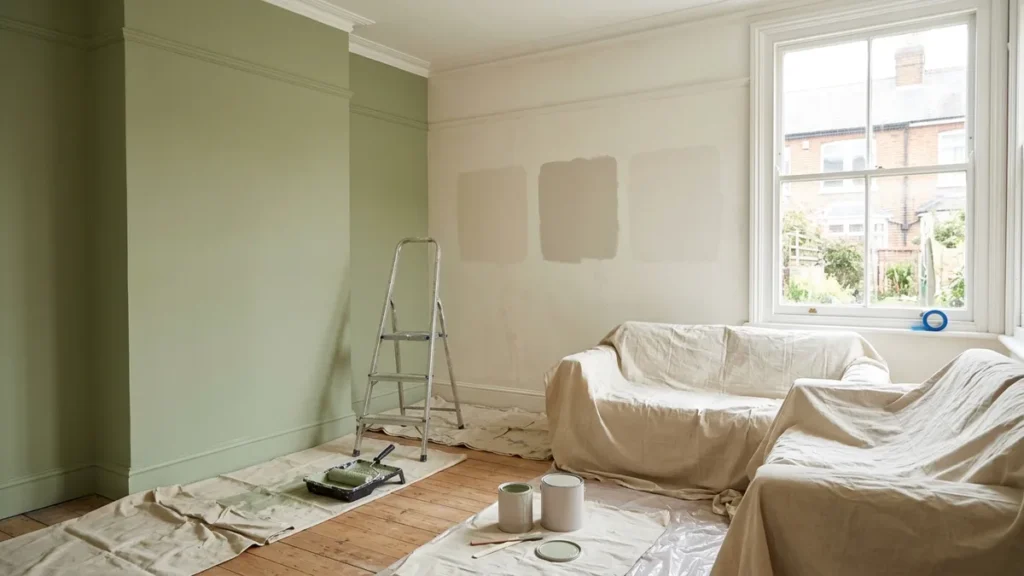

Redecorating a room sounds simple until you are standing in a half-painted hallway with five sample patches on the wall and a skirting board that clearly needs replacing. A little planning saves money, cuts the mess and gives a finish that lasts for years. Here is how to approach a decorating project in the right order.
Table of contents7 sections
Start with how the room is used
Before you choose a single colour, think about what happens in the space. A busy hallway takes knocks from bags, shoes and pushchairs, so it needs a durable, wipeable finish. Kitchens and bathrooms deal with steam and grease, which calls for moisture-resistant paint. Bedrooms and living rooms see less wear, so a flat matt finish can give that soft, chalky look without much risk.
Check the surfaces before you buy paint
Good decorating is mostly preparation. Walk around the room and look for cracked plaster, flaking paint, gaps around window frames and any patches of damp. Damp always needs to be traced to its source first, because painting over it only hides the problem for a few weeks.
If you find bigger issues such as blown plaster, a leaking roof or rotten window sills, bring in experienced builders before any decorating starts. Fixing the fabric of the room first means your new finish will not crack, bubble or stain a month later.
Choose colours in real light
A paint chart cannot show how a colour behaves in your home. Paint large test patches, at least the size of an A4 sheet, on two or three different walls and look at them in morning light, evening light and under your own lamps. North-facing rooms in the UK get a cooler, bluer light, so warmer neutrals often feel more inviting there. South-facing rooms can carry cooler greys and greens without feeling cold.
Work from the top down
Always decorate in this order: ceiling first, then walls, then woodwork. Drips fall downwards, so this order keeps finished surfaces clean. New plaster needs a thinned mist coat before the main colour, and most walls need two full coats for an even result. Check the drying times on the tin, and remember that cold, damp winter weather slows drying considerably.
Decide what to do yourself
Painting a spare bedroom is a reasonable weekend job for most people. Other tasks reward professional skill: tall stairwells, hanging patterned wallpaper, period mouldings and spray finishes on kitchen cabinets. A specialist team such as Neart Decorating can handle the preparation, filling and finishing in one visit, usually faster and with far less disruption to family life. Whoever you hire, ask for a written quote that lists the preparation included, the paint brand and the number of coats.
Budget for the hidden extras
Dust sheets, masking tape, filler, sandpaper, primer and decent brushes and rollers add up quickly. Set aside around 10 to 15 per cent of your budget for surprises, such as a section of plaster that comes away when you scrape off old wallpaper.
Look after the finish
Fresh emulsion can take two to four weeks to cure fully, so avoid scrubbing walls during that time. Keep a labelled tin of each colour for touch-ups and keep the room well ventilated while the paint settles. Plan carefully, prepare properly and your newly decorated room will look good for many years.